전자공학/개인 설계
ESP32와 Api를 이용한 실시간 일기 디스플레이
안녕 나의 20대
2024. 7. 16. 14:57
반응형
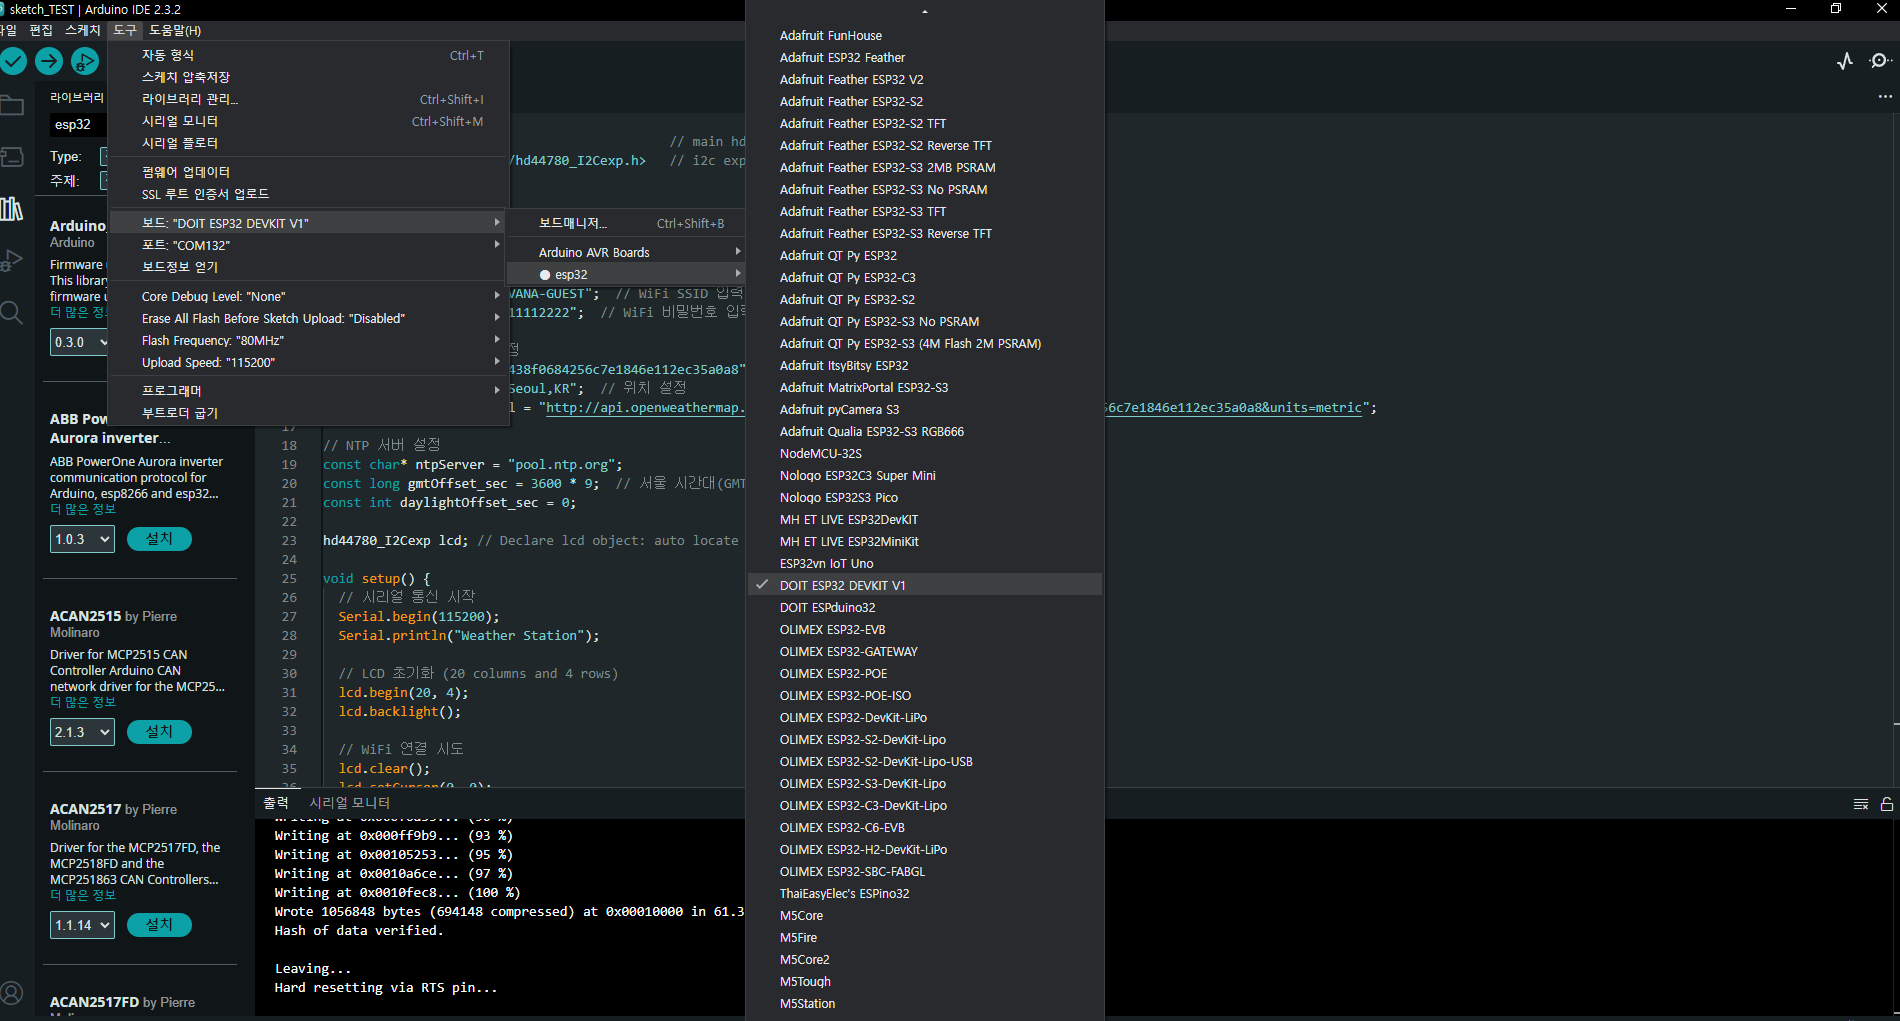
ESP32 입문하기
ESP32에 대해서 공부하던 도중 ESP32 모듈이 있는걸 확인하고 이를 이용해서 실시간 업데이트 가능한 모듈을 제작해봤다. 본래라면 MCP2515 같은 칩으로 컨트롤러를 따로 만들어 만능기판을 이용해서 설계 해야하지만 운 좋게 모듈을 찾아 손쉽게 설계가 가능했네요
근데 왜 ESP 32를 사용했나?
저렴한 가격+고성능 와이파이 칩인걸 이 시점에서 처음 알게 되어 사용하게 되었습니다
사용 툴은 아두이노로 ESP32를 설치하여 사용하였습니다
설계 계기
사실 사무실 밖에 풍경이 옆 건물에 가려 보여지지 않아 개인적인 궁금증으로 밖에 비가 오나 안오나 궁금했는데 우연찮은 계기로 추천받게 되어서 (완성도를 생각하고 설계 시작) 만들게 되었습니다
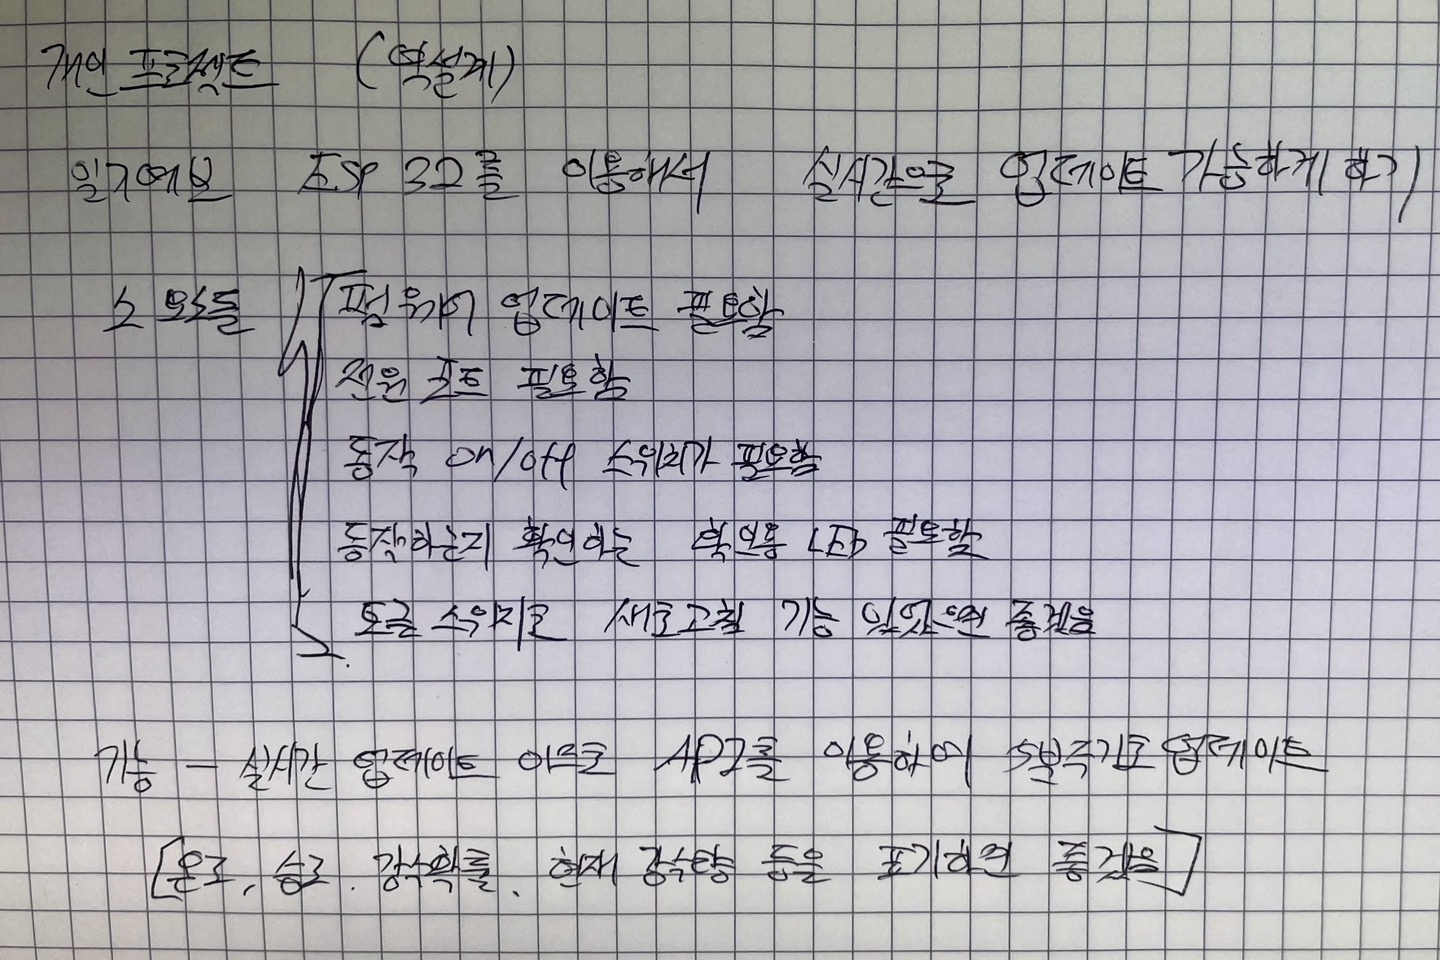
최초 도안
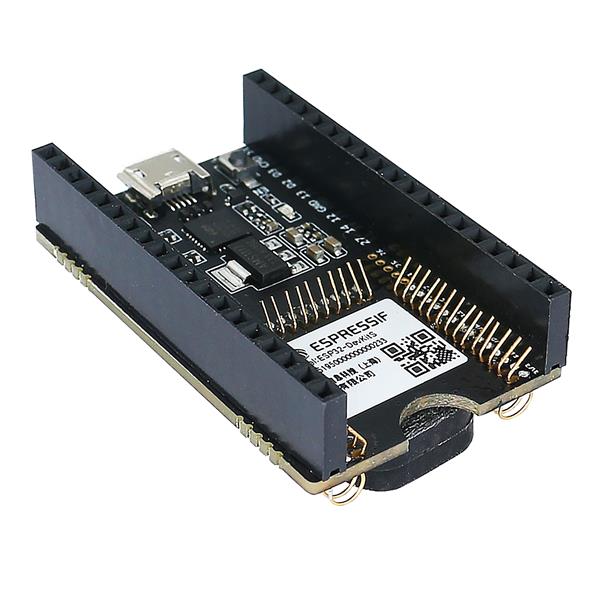
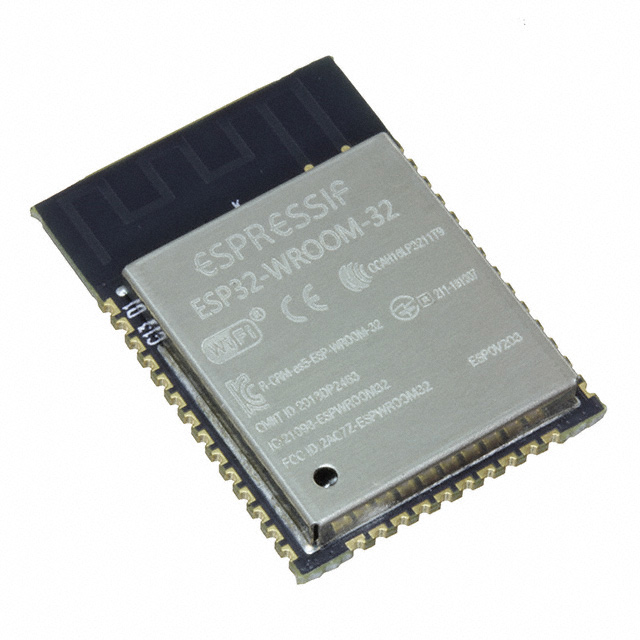
사용한 부품 리스트
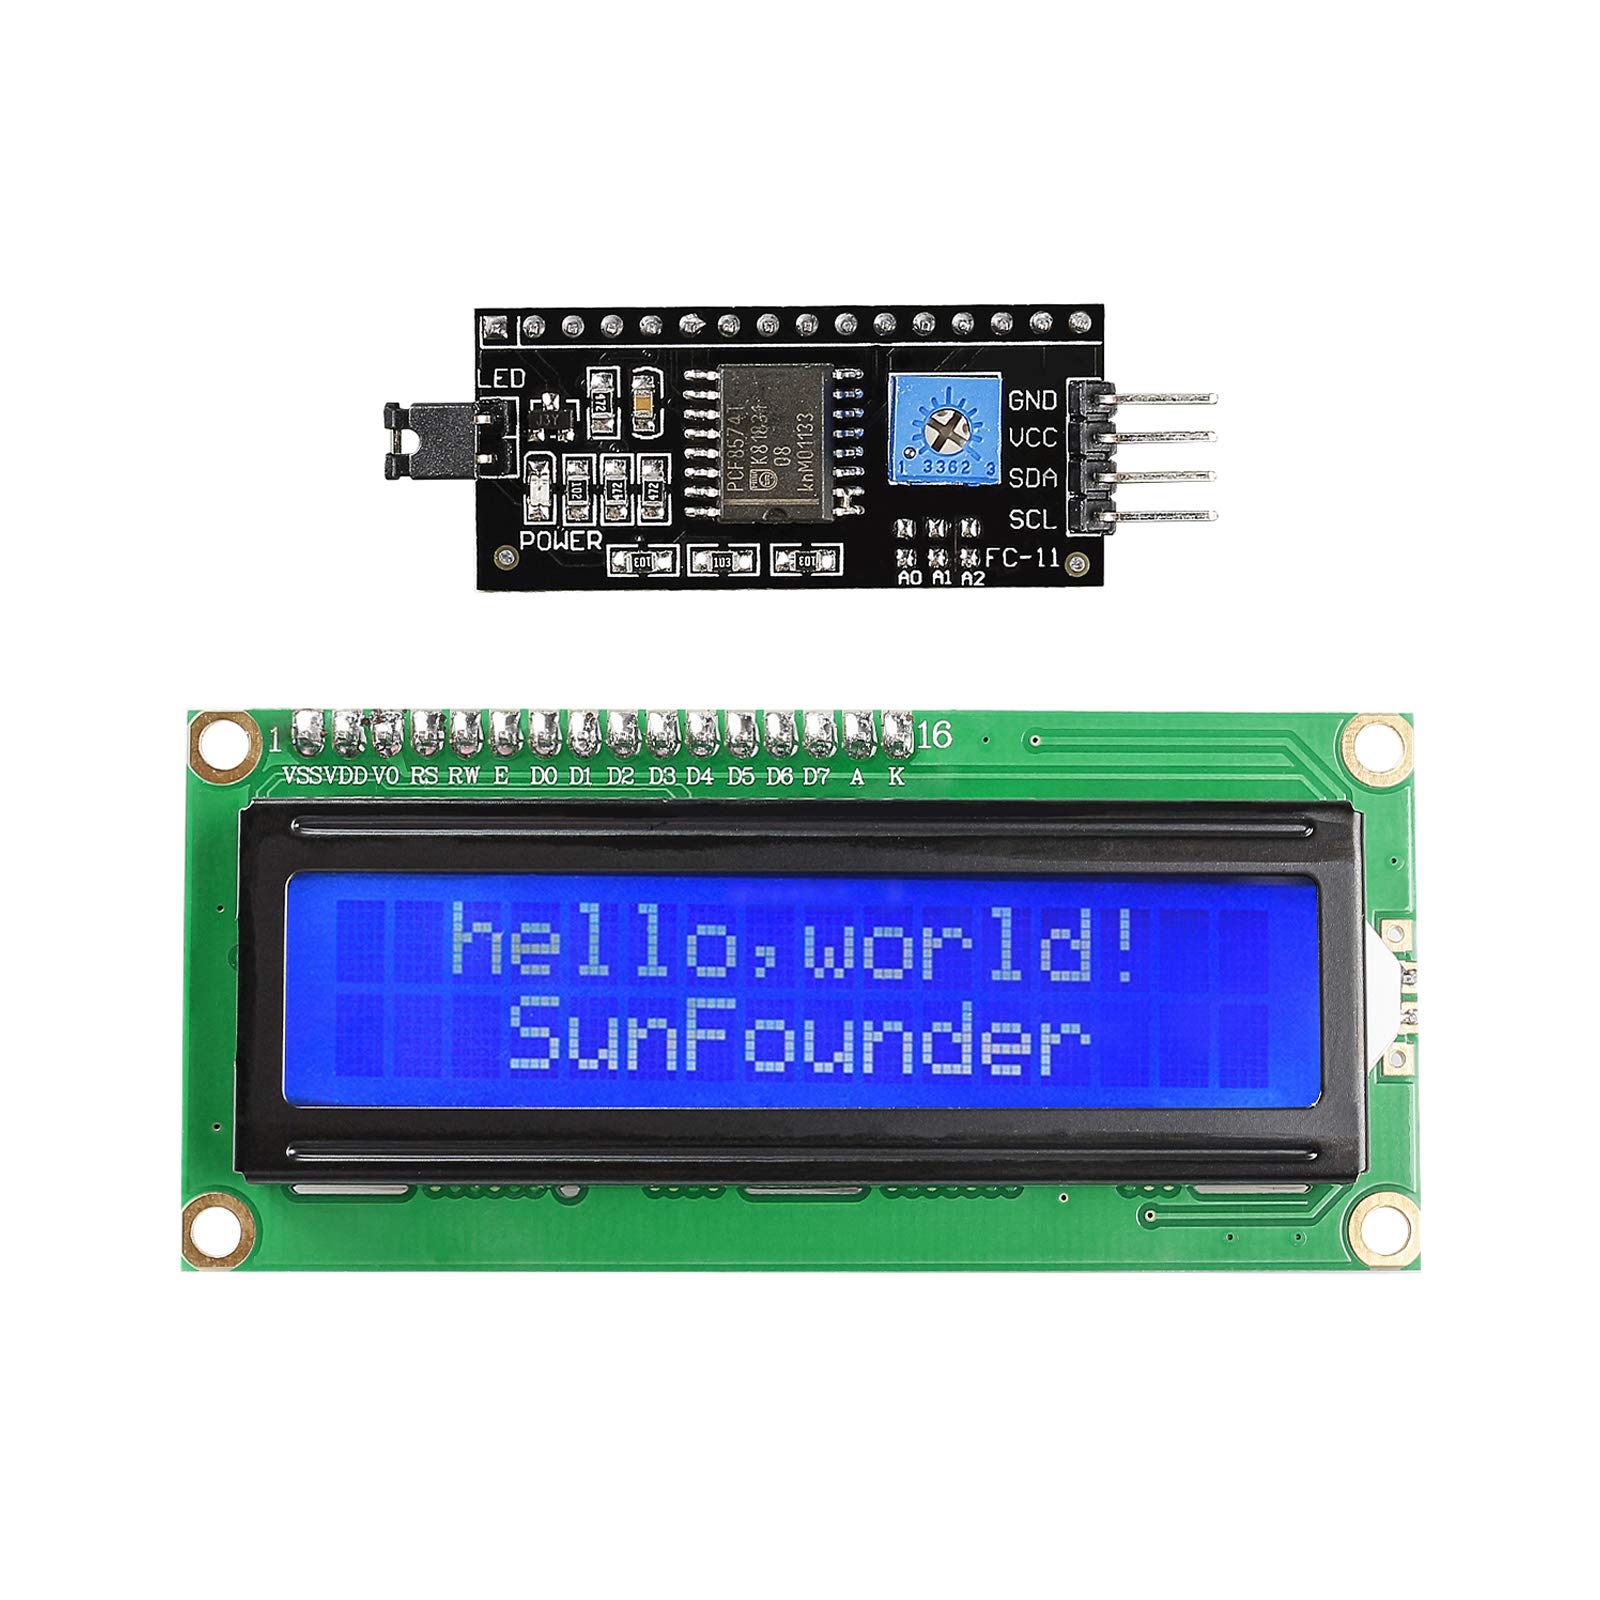
사용한 코드
#include <Wire.h>
#include <hd44780.h> // main hd44780 header
#include <hd44780ioClass/hd44780_I2Cexp.h> // i2c expander i/o class header
#include <WiFi.h>
#include <HTTPClient.h>
#include <ArduinoJson.h>
#include <time.h>
// WiFi 설정
const char* ssid = "여기에 와이파이 이름 입력"; // WiFi SSID 입력
const char* password = "여기에 와이파이 비번 입력"; // WiFi 비밀번호 입력
// OpenWeatherMap API 설정
const char* apiKey = "회원 가입 하시고 OpenWeatherMap API 키 입력"; // OpenWeatherMap API 키 입력
const char* location = "Seoul,KR"; // 위치 설정
const char* weatherApiUrl = "http://api.openweathermap.org/data/2.5/weather?q=Seoul&appid=이 한글자리 지우시고 api 입력하세용&units=metric";
// NTP 서버 설정
const char* ntpServer = "pool.ntp.org";
const long gmtOffset_sec = 3600 * 9; // 서울 시간대(GMT+9)
const int daylightOffset_sec = 0;
hd44780_I2Cexp lcd; // Declare lcd object: auto locate & auto config expander chip
void setup() {
// 시리얼 통신 시작
Serial.begin(115200);
Serial.println("Weather Station");
// LCD 초기화 (20 columns and 4 rows)
lcd.begin(20, 4);
lcd.backlight();
// WiFi 연결 시도
lcd.clear();
lcd.setCursor(0, 0);
lcd.print("Connecting to WiFi");
WiFi.begin(ssid, password);
int retry_count = 0;
while (WiFi.status() != WL_CONNECTED && retry_count < 30) {
delay(500);
Serial.print(".");
lcd.setCursor((retry_count % 20), 1);
lcd.print(".");
retry_count++;
}
if (WiFi.status() == WL_CONNECTED) {
Serial.println("Connected to WiFi");
lcd.clear();
lcd.setCursor(0, 0);
lcd.print("Connected to WiFi");
// NTP 시간 설정
configTime(gmtOffset_sec, daylightOffset_sec, ntpServer);
delay(2000); // 시간 동기화를 위해 약간의 지연을 추가합니다.
} else {
Serial.println("Failed to connect to WiFi");
lcd.clear();
lcd.setCursor(0, 0);
lcd.print("WiFi Connect Fail");
}
}
String getFormattedTime() {
struct tm timeinfo;
if (!getLocalTime(&timeinfo)) {
Serial.println("Failed to obtain time");
return "Time error";
}
char timeString[20];
strftime(timeString, sizeof(timeString), "%Y-%m-%d %H:%M", &timeinfo);
return String(timeString);
}
void loop() {
if (WiFi.status() == WL_CONNECTED) {
HTTPClient http;
http.begin(weatherApiUrl);
int httpResponseCode = http.GET();
if (httpResponseCode > 0) {
String payload = http.getString();
Serial.println(payload);
// JSON 파싱
StaticJsonDocument<1024> doc;
deserializeJson(doc, payload);
float temp = doc["main"]["temp"];
float humidity = doc["main"]["humidity"];
float cloudiness = doc["clouds"]["all"]; // 구름량을 강수 확률로 사용
float rain = doc["rain"]["1h"]; // 지난 1시간 동안의 강수량
// 결과 출력
Serial.print("Temperature: ");
Serial.print(temp);
Serial.println(" C");
Serial.print("Humidity: ");
Serial.print(humidity);
Serial.println(" %");
Serial.print("Cloudiness: ");
Serial.print(cloudiness);
Serial.println(" %");
Serial.print("Rain: ");
Serial.print(rain);
Serial.println(" mm");
// LCD에 결과 표시
lcd.clear();
lcd.setCursor(0, 0);
lcd.print("Seoul Temp: ");
lcd.print(temp);
lcd.print("C");
lcd.setCursor(0, 1);
lcd.print("Humidity: ");
lcd.print(humidity);
lcd.print("%");
lcd.setCursor(0, 2);
lcd.print("Cloudiness: ");
lcd.print(cloudiness);
lcd.print("%");
lcd.setCursor(0, 3);
lcd.print("Rain: ");
lcd.print(rain);
lcd.print(" mm");
} else {
Serial.print("Error code: ");
Serial.println(httpResponseCode);
}
http.end();
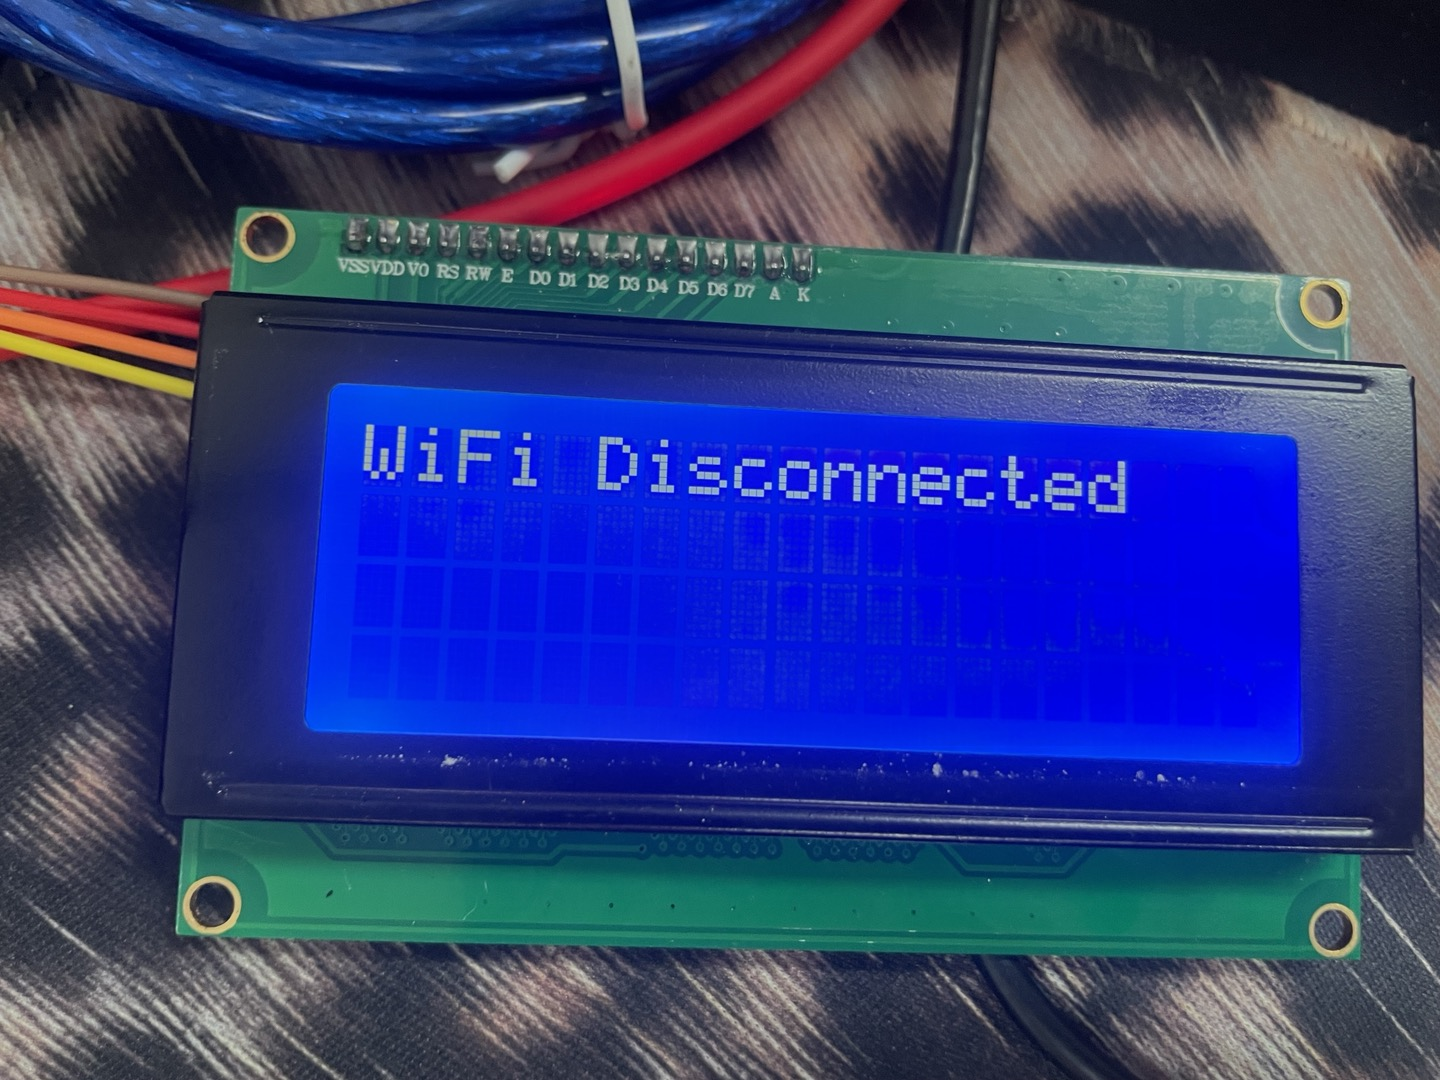
} else {
Serial.println("WiFi Disconnected");
lcd.clear();
lcd.setCursor(0, 0);
lcd.print("WiFi Disconnected");
}
delay(600000); // 10분 대기 (600000 밀리초)
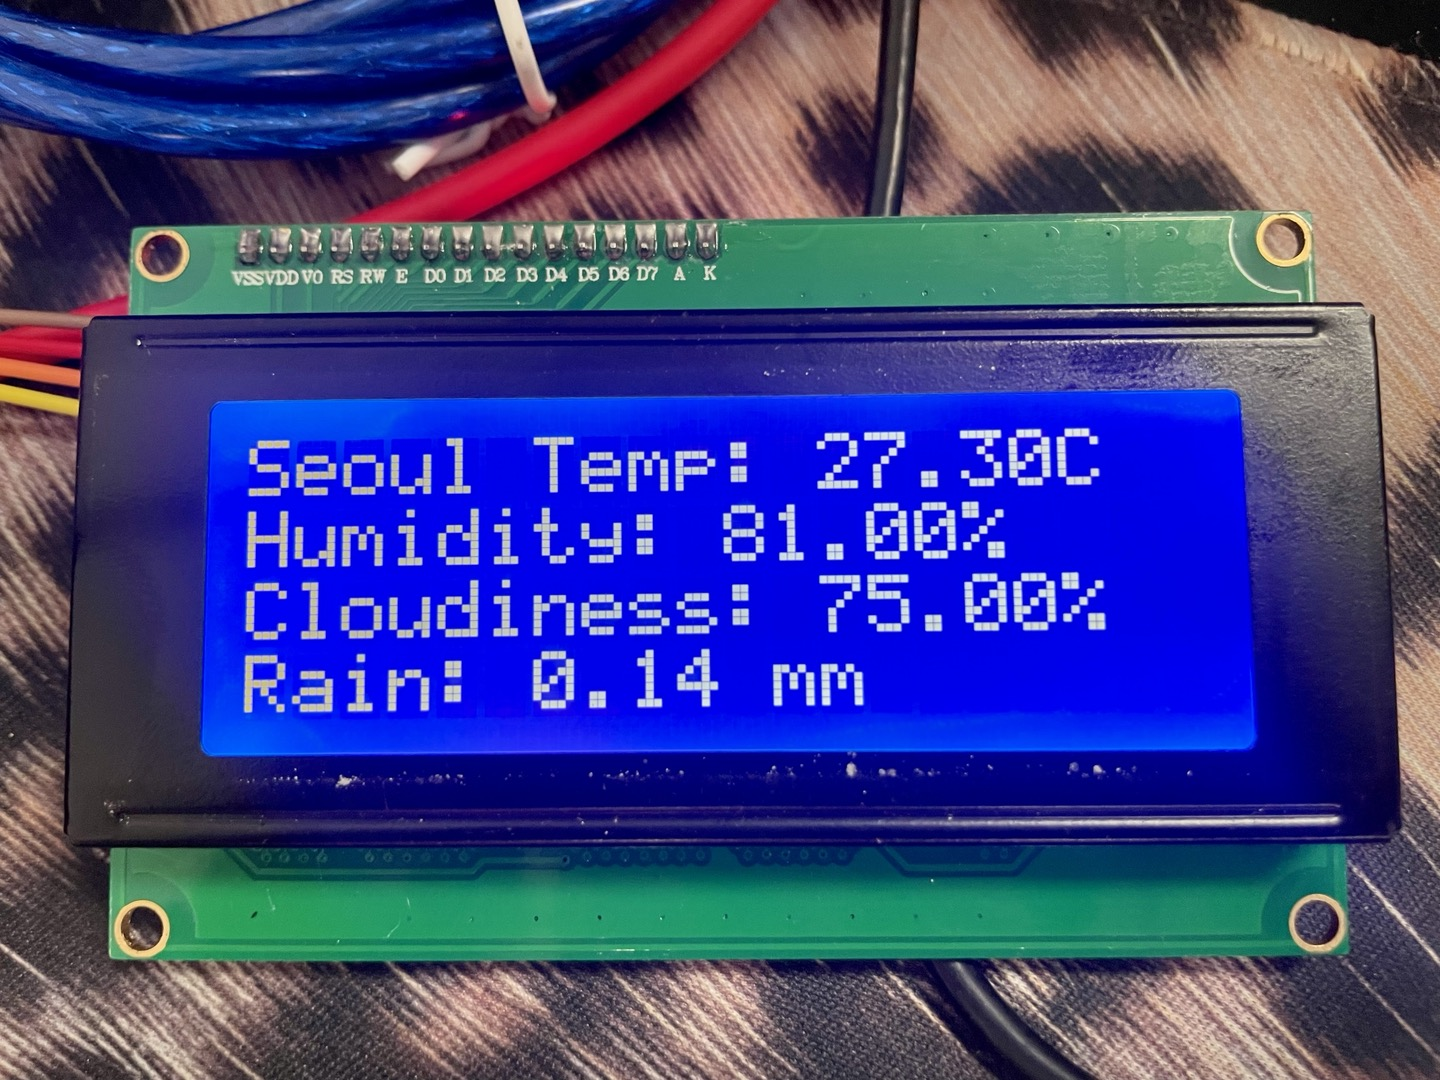
}실제 동작
SDA: GPIO 21, SCL: GPIO 22 연결
번외
아두이노로 컴파일,업로드 시 2분이라는 시간이 소요된다 (왜?) - 24.07.16
VSCODE로 업데이트 하다가 하루종일 걸려 실패해서 던지고 포기했는데
다행히 유저 친화(?)적인 아두이노로 쉽게 헤더파일을 넣어서 쉽게 쉽게 갔던 것 같다
반응형